Canopy Installation: A Step-by-Step Guide

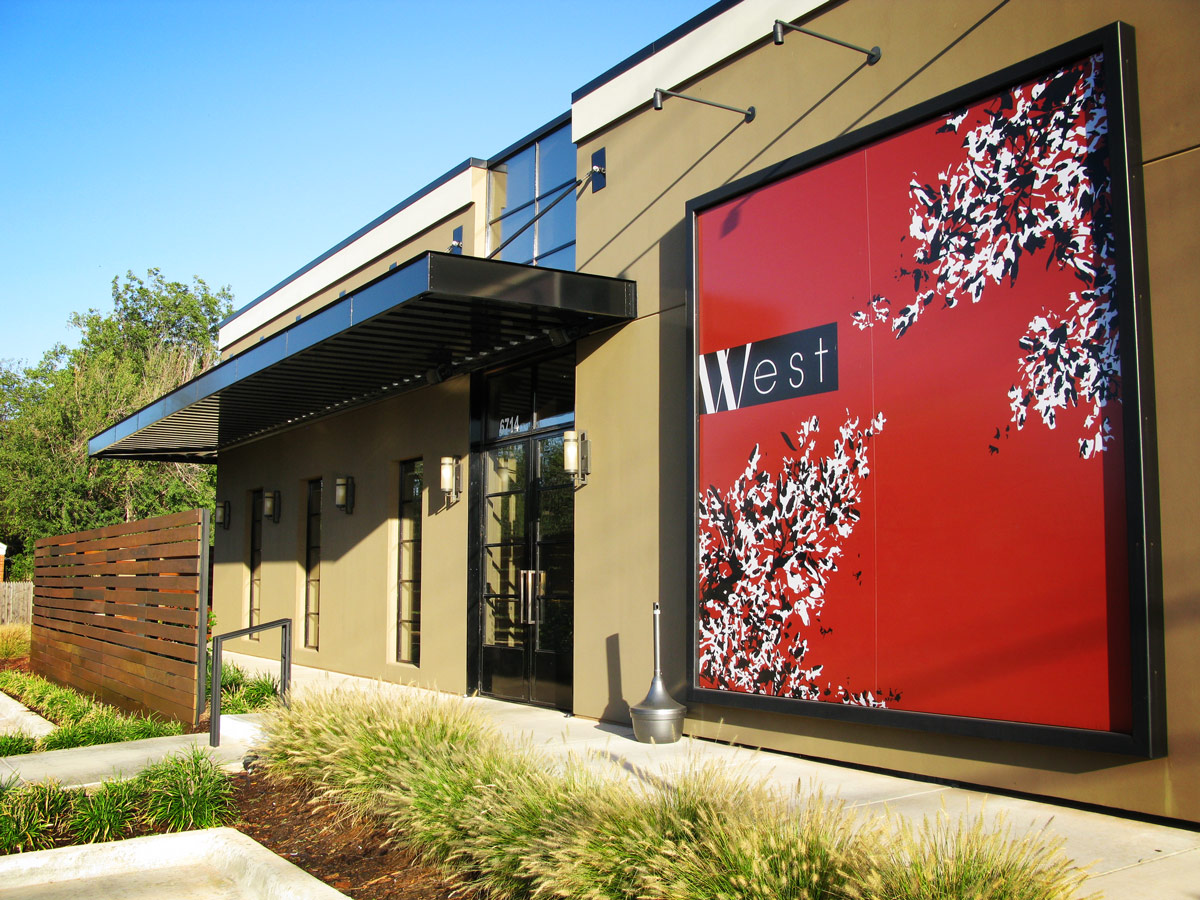
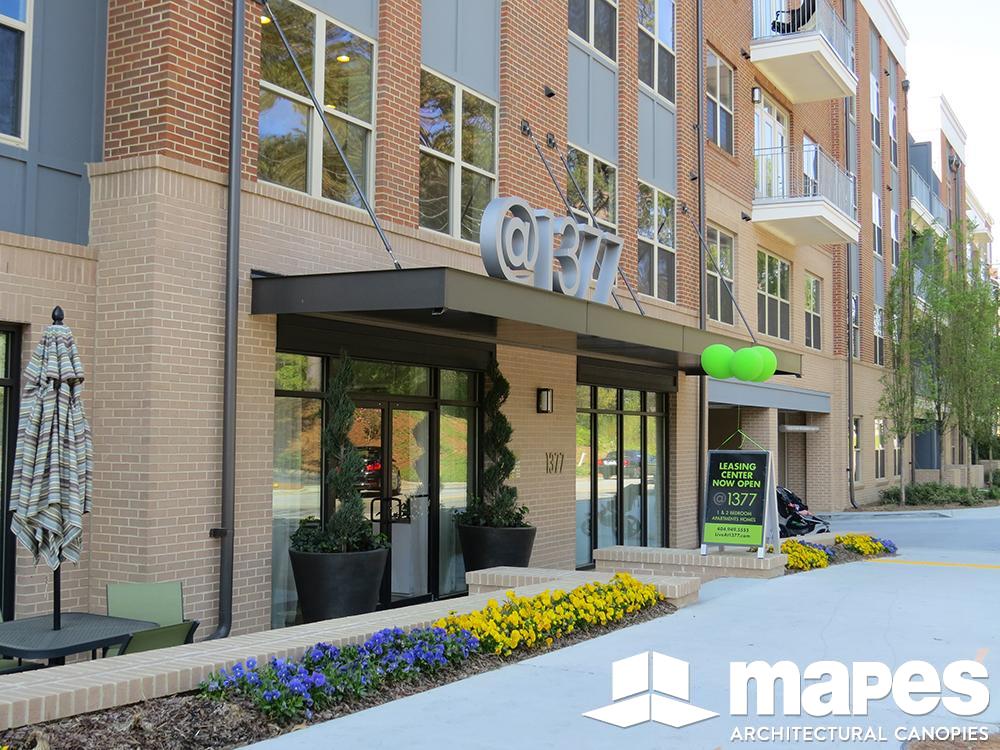
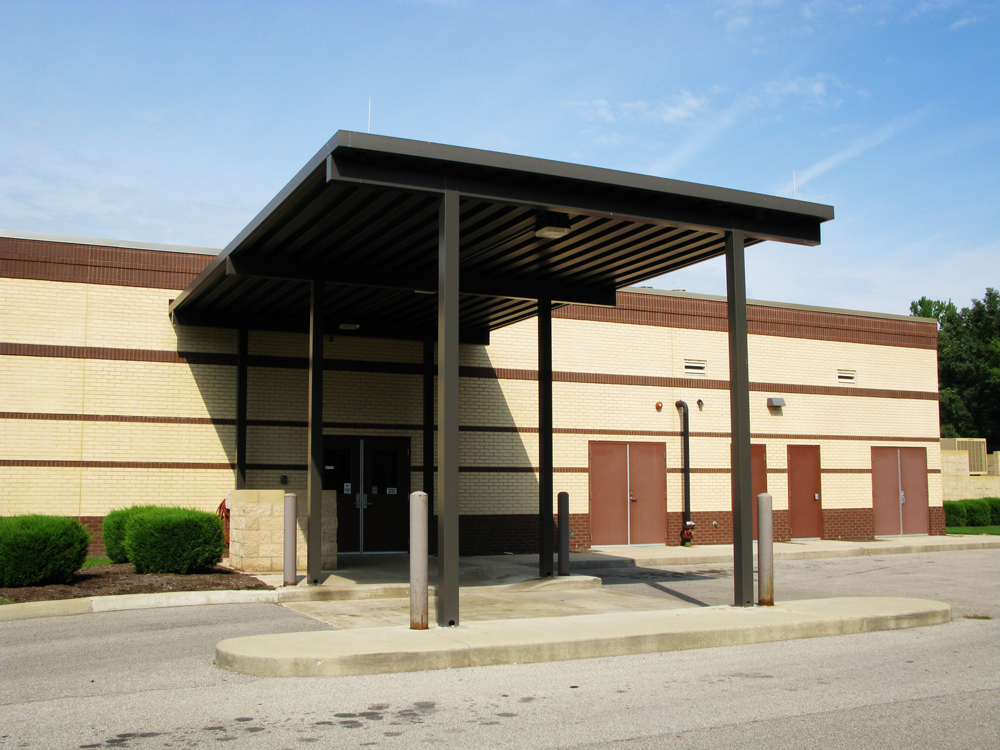
A canopy is a practical and stylish way to provide shelter, shade or aesthetic appeal to commercial properties. Canopies can add energy efficiency, functionality and visual appeal to a space, and with so many styles and materials available, it’s easy to find one that fits your building’s design.
The installation process for aluminum canopies is fairly straightforward if the initial planning and site preparation are done effectively. Once the site is ready, the canopy can be installed in as little as a day, depending on the size of the canopy and the installation crew.
Preparing for Canopy Installation
The first and most important step in any canopy installation is proper preparation. This starts with designing the wall structure with adequate support to handle the canopy anchorage. You’ll also need to select the right canopy, tools and materials for the installation process. Let’s take a more detailed look.
Selecting the Right Canopy for Your Space
Choosing the right aluminum canopy for a commercial building starts with a clear understanding of both function and form.
The right commercial canopy must fit the aesthetic design of the building and also meet structural requirements, local codes and performance needs. It also has to integrate seamlessly with the building envelope and be easy to install and maintain.
First, assess the environmental demands of the location. Wind loads, snow, rain and UV exposure all affect design decisions. Understanding site-specific stressors ensures the canopy will perform well for years to come.
For example, a canopy in a coastal region should be engineered with corrosion in mind, so selecting a canopy with high corrosion resistance, like aluminum or specialized coatings, is essential. Additionally, wind uplift is an important consideration, as it can drive the need for reinforced framing or anchoring systems.
Next, consider usage and traffic. A commercial canopy over a loading dock has different structural and clearance needs than one over an apartment building entrance.
For high-traffic areas, integrated lighting, water drainage and signage are often necessary. These should be planned from the start, not treated as afterthoughts.
Fabrication and installation logistics should also be considered. Modular designs that offer off-site assembly can drastically reduce your on-site labor costs and installation time.
Tools and Materials Needed
Installing an aluminum canopy system doesn’t require a lot of high-end tools. However, you should always check the manufacturer’s installation guide to ensure you have the required canopy materials on site before you begin.
Before installation, crews should have the basics like:
- Rotary hammers or hammer drills with masonry bits
- Impact drivers
- Rivet guns
- Torque wrenches
- Hole saw for drainage
- Leveling tools
For sealing and finishing, caulking guns, touch-up paint and edge finishing tools are necessary.
Ladders and scaffolding are standard, but for larger systems, a boom lift or scissor lift may be necessary to safely handle higher elevations and larger components.
You will also need anchor bolts (stainless or galvanized, depending on exposure), shims, backing plates and sealants rated for exterior use. Mapes supplies all necessary hardware with the exception of sealant.
Depending on the canopy system, you may be installing wall brackets, hanger rods, outriggers, fascia panels or integrated gutters.
Always check the canopy instructions and manufacturer’s hardware list, as proprietary systems often have specific fasteners or brackets that shouldn’t be swapped out.
Pre-finished aluminum components should be handled with care to avoid damaging the surface. Always use protective padding when moving or staging canopy materials.
Canopy Installation Process and Overview

Planning for a canopy installation is vital. Typically, the manufacturer will send out the necessary hardware for installation once a date has been coordinated with all parties.
Hardware can often be sent out prior to the fabricated canopy materials. This allows for anchors to be placed in the wall ahead of time, which can expedite the canopy installation.
On the installation day, follow these steps for an easy and fast process:
Measuring and Marking the Installation Area
Measuring and marking the installation area is key to a successful canopy installation. Carefully compare all of the dimensions against the shop drawings before you do anything else.
Use a laser level and chalk lines to lay out anchor points, bracket locations and the overall canopy footprint. Double-check the measurements from fixed reference points such as door frames, building corners or expansion joints to ensure the canopy aligns correctly.
Not having accurate measurements directly affects the structural integrity and performance of the canopy system and could result in a costly redo. If brackets or anchor points are just slightly off, it can stress the framing, cause misaligned drainage paths or create gaps that allow water to get in.
Installing the Wall Hardware
Begin installing the wall hardware by double-checking the bracket locations with your marked layout lines. Take the time to confirm the spacing, elevation and alignment with structural supports behind the wall surface.
Generally speaking, through-bolting is always the most secure and preferred attachment method. If you’re anchoring the canopy brackets into concrete or filled CMU, epoxy anchors can be used as long as the wall is solid and a 6-inch minimum embed is used. If attaching to a steel tube, expansion anchors are also an option.
It’s important to follow the previously designed attachment method outlined in the canopy shop drawings and ensure that the proper wall structure can handle the canopy loads. A structural engineer for the building is responsible for designing the adequacy of the wall.
Always use hardware that’s supplied by the canopy manufacturer because it’s designed to work with the canopy system. Also, double-check the torque specs so you can avoid over-tightening or under-torquing.
Once the fasteners are set, check that each bracket is plumb and level before final tightening. If there’s any variance in the wall surface, use non-compressible shims to maintain alignment across the bracket line.
Properly aligned brackets are essential for evenly distributing the canopy’s weight and preventing torsional stress on the frame. After installation, seal around all wall penetrations to prevent water intrusion.
Attaching the Canopy Supports, Frame and Decking
Once the wall hardware is securely installed and aligned, the next step is to attach the canopy structural supports, the canopy frame (fascia) and the decking.
Depending on the canopy system you’re using, the sequence of installing these components will vary. Refer to the installation instructions of the appropriate product for a step-by-step process.
Installing the Canopy Drainage
All of Mapes’ canopies are designed to drain water from the top of the decking surface into the perimeter fascia gutter and out the bottom of the fascia. In the field, determine the desired drain point locations, and drill a 2 5/16-inch hole in the bottom of the fascia. Next, insert the drain stub or scupper into the field-drilled hole. If a downspout is called out, attach the downspout to the drain stub with rivets.
A simple flashing is provided to attach to the exterior of the wall and flash over the back side of the canopy toward the decking. Sealant and flashing anchors will need to be supplied by the installer based on the wall type.
Lastly, adjust the tilt of the canopy by adjusting the nuts on the hanger rod supports to help pitch the canopy away from the building to have water flow toward the front drains, or back to the building to have water flow toward the rear drains/downspouts.
To ensure proper water drainage, ensure all fascia joints or any penetrations are tightly sealed by using a silicone-based sealant.
Testing the Installation and Adjustments
When the installation is complete, take the time to test it and make any adjustments. Correcting any errors now will cut down on expensive repairs or returns to the job site. Proper testing will also ensure the canopy is safe and can withstand environmental stressors.
Ensuring Proper Alignment and Functionality
Start by checking all structural connections to make sure the bolts and fasteners are tightened to the right torque and that brackets and frame components are plumb and securely anchored.
If the canopy includes integrated drainage, run a water test to verify that water flows correctly through the system without any leaks.
Maintenance and Care for Canopies
If a canopy installation is done correctly, it should only need minimal upkeep. Cleaning and light maintenance should be enough to keep it in good shape for many years.
When it comes to cleaning, aluminum canopies just need routine soap and water washing, even when installed in tough climates.
Find The Best Canopy For Your Project With Mapes

For more than 70 years, Mapes has been creating the best canopies on the market.
Mapes has a large range of on-trend and classic designs, durable materials and the support you need to get every installation right.
If you’re planning a commercial canopy project, explore Mapes to find the perfect solution for your project. We look forward to helping your project run smoothly and efficiently with outstanding results.
Back to All
